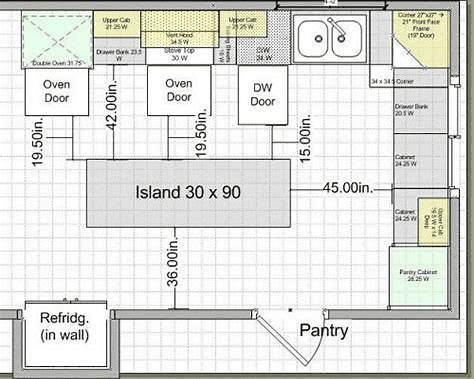
A kitchen island is more than a standalone furniture piece—it is a structural extension of your kitchen cabinets, influencing storage, workflow, circulation, and the visual balance of the entire space. When contractors plan an island, they rarely begin with the island itself. Instead, they evaluate the existing cabinet layout, appliance placement, access clearances, and how the island will support or improve the user’s working triangle. The island must integrate seamlessly with surrounding base cabinets, walkways, and countertop depths, otherwise even a beautiful kitchen will feel cramped or inefficient.
This guide explains in professional detail how to design a kitchen island that functions harmoniously with your cabinet layout, whether you are planning custom cabinets, installing modern kitchen cabinets, or looking for optimized storage solutions. From sizing rules to cabinet alignment, material considerations, seating overhangs, and workflow planning, this article follows the standards used by builders and kitchen designers in real renovation projects.
1. Start With Your Cabinet Layout, Not the Island
Contractors always evaluate the perimeter cabinets first because they determine how much space remains for the island. Cabinet depth, appliance doors, and countertop overhangs create a “fixed boundary” that the island must respect. For example, standard base cabinets extend 24 inches deep, with most countertops adding an additional 1–1.5 inches. Refrigerators and dishwasher doors require extra operating clearance.
The island should complement—not compete with—these cabinet zones. A good layout ensures appliances can open fully, traffic can flow in multiple directions, and work zones connect logically. If the perimeter cabinets include cooking, prep, and cleaning zones, the island must enhance one of these without obstructing the others.
When kitchens use modern kitchen cabinets or white kitchen cabinets with clean lines, designers often align island panels with the cabinet reveals to create continuity. For traditional kitchens with shaker cabinets, the island can become a contrasting element with different color or leg design, as long as its structure adheres to cabinet-driven proportion rules.
2. Determine Proper Island Size Based on Cabinet Clearances
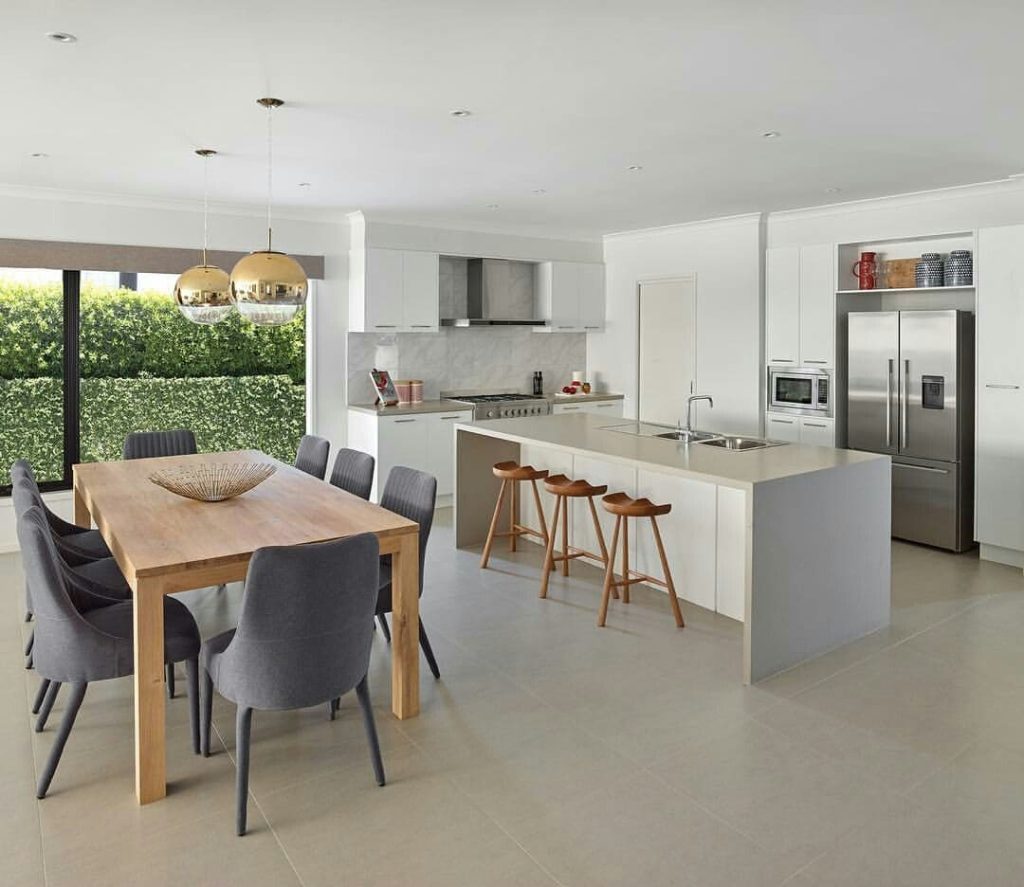
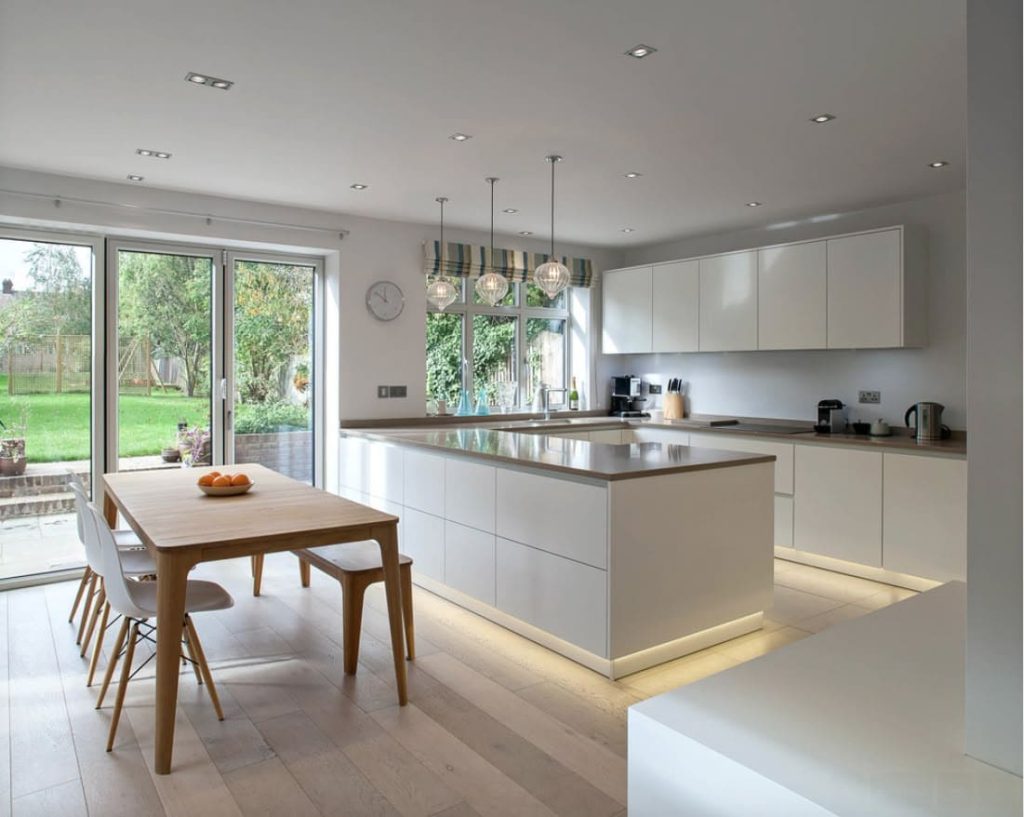
The biggest mistake homeowners make is assuming an island will fit because the room looks large. Builders measure circulation first, not visual space. The walkway between cabinets and an island is crucial, especially around appliances.
Below is a technical guideline contractors use:
Minimum Clearances Between Cabinets and Island
| Clearance Type | Contractor Standard | Ideal for High-Traffic Kitchens |
| Cabinet to island walkway | 36 inches minimum | 42–48 inches |
| Dishwasher open door to island | 9–12 inches clearance beyond the door | 18 inches comfortable |
| Refrigerator door swing | 36 inches walkway + full door width | Wider when French doors |
| Cooking zone behind stove | 42 inches | 48 inches for multi-cook households |
When islands exceed these clearances, movement remains fluid, prep and cooking tasks stay separate, and multiple users can work simultaneously. For smaller kitchens, the island may need to be narrower (as little as 24 inches wide), while larger kitchens easily support deeper islands with storage on both sides.
3. Match Cabinet Depth, Structure, and Function
An island must be built like a functional cabinet unit—not a table—unless the design intentionally calls for furniture styling. Most islands use:
24-inch-deep base cabinets on the working side
Optional 12–15-inch-deep cabinets on the back for double-sided storage
Full-panel ends to conceal cabinet seams
Toe-kick alignment matching perimeter cabinets
Countertop overhangs customized for seating or preparation zones
Contractors also consider cabinet box material. If your perimeter uses solid wood kitchen cabinets or plywood kitchen cabinets, the island may follow the same construction. But in modern builds, many choose MDF or plywood boxes with upgraded paint systems because islands are exposed on all sides and require better finishing stability.
For custom cabinets, the island becomes a strategic place to add deep drawers, trash pull-outs, or oversized storage. When homeowners install stock or ready-made cabinets, island depth may be limited, requiring fillers and panels for a built-in look.
4. Align the Island With Your Working Triangle
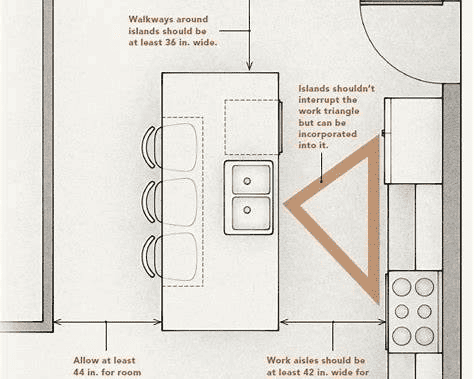
The most functional islands support the kitchen’s natural workflow: prep → cook → clean. Contractors analyze how the island participates in this sequence:
Prep zone island: Adjacent to the fridge and sink; includes large drawers and knife storage
Cooking zone island: Adjacent to the cooktop; may include spice pull-outs or pot drawers
Cleaning zone island: Next to the dishwasher; includes trash cabinets and towel storage
Social zone island: Extends into seating; faces the living or dining area
An island should reduce steps, not add them. If perimeter cabinets already house your stove, fridge, and cleanup zone, the island becomes an extension of prep space. However, in many custom designs, the island also incorporates a prep sink, microwave drawer, or beverage fridge, effectively splitting the kitchen into multiple workstations.
When using kitchen cabinets and countertops that follow a specific style—matte finishes, white shaker profiles, or modern slab fronts—the island design must support both workflow and aesthetics without compromising either.
5. Plan Seating Overhangs and Structural Reinforcement
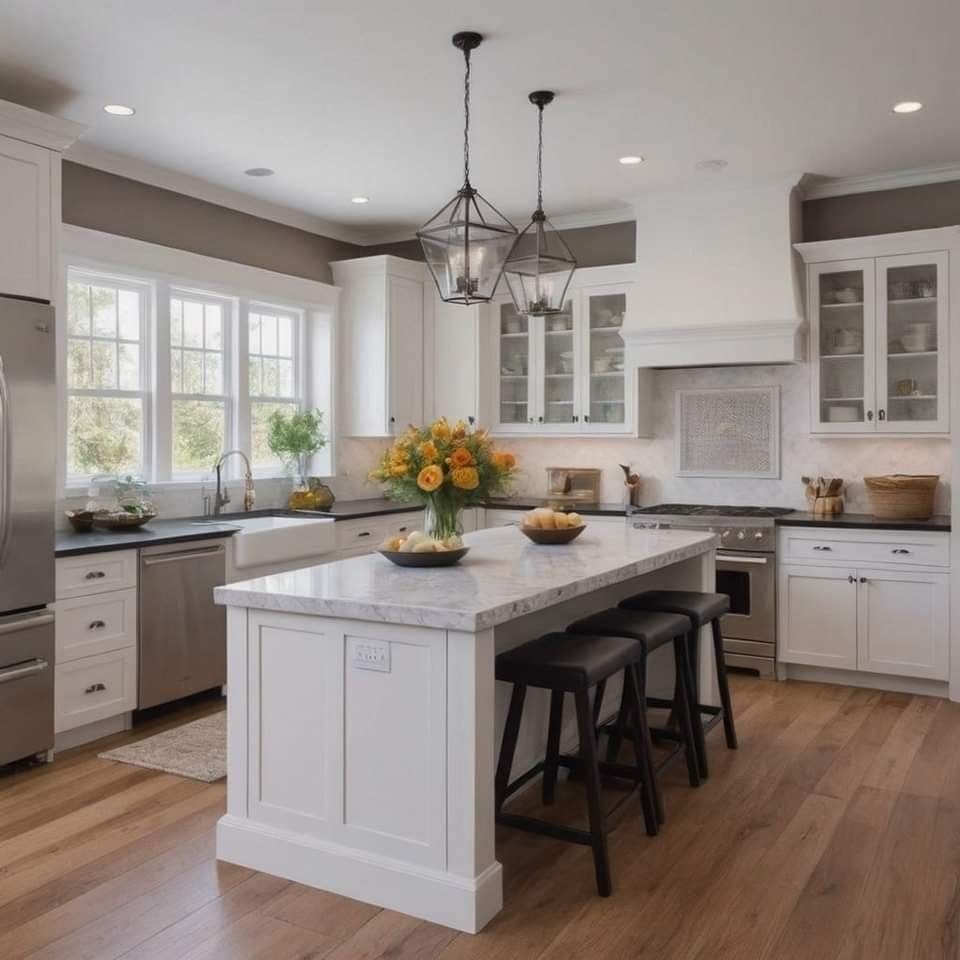
Homeowners often underestimate the engineering behind island seating. Standard seating requires:
12-inch overhang for counter stools
15-inch overhang for deep seating
Overhangs over 12 inches require support such as brackets, corbels, or steel bars
The island’s cabinet box and subtop must support the countertop’s cantilever load. Contractors add plywood substrates or steel reinforcement to prevent stone cracking over time, especially when using quartz or natural marble.
When the perimeter cabinets feature a thick countertop edge, designers frequently echo that detail on the island for consistency. In minimalist spaces, thin 2cm edges or waterfall sides are common, requiring precision alignment between cabinet sides and stone fabrication.
6. Integrate Storage, Utilities, and Appliance Connections
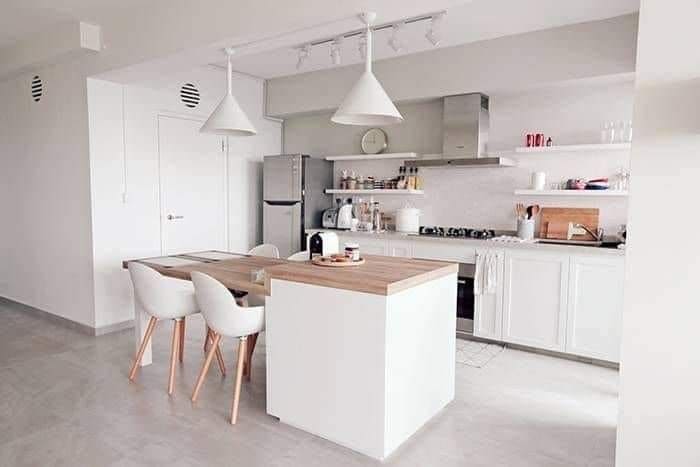
Behind every practical kitchen island is careful planning of utilities:
Electrical outlets (code often requires at least one)
Water supply & drain if adding a prep sink
Gas or electric lines for cooktops
Lighting and ventilation for cooking islands
Cabinet reinforcement for pull-out appliances
Storage strategy is equally critical. Islands typically include:
Deep drawer stacks for pots
Roll-out trays for small appliances
Double trash pull-outs
Microwave drawers
Tiered utensil drawers
Backside cabinets for seasonal or less-used items
In kitchens already tight on wall space, the island frequently becomes the primary storage anchor. Contractors optimize every inch by customizing drawer depths, hinge swing, and soft-close hardware.
7. Match Island Style and Finish With Cabinet Design
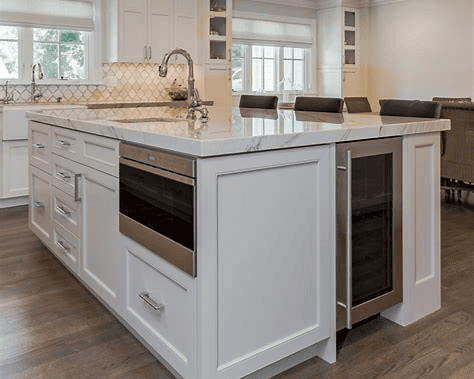
Harmonizing the visual connection between perimeter cabinets and the island elevates the entire kitchen. Homeowners often select:
Matching color & finish for a cohesive look
Contrasting island color (e.g., navy island + white cabinets)
Different countertop material on the island for emphasis
Shaker cabinets on the perimeter + slab island cabinetry for a modern-traditional blend
When using white kitchen cabinets, designers frequently opt for a warm wood island to prevent the kitchen from feeling overly sterile. Conversely, modern slab kitchens may use monochromatic islands for architectural consistency.
The island should always reflect the cabinetry’s design language—door style, toe-kick height, panel detail, and even hardware choices.
8. Materials and Finish Considerations for a Durable Island
Because islands are exposed on all sides, finishing quality matters. Contractors typically recommend:
Plywood or solid-wood frames for durability
MDF panel surfaces for superior paint smoothness
Durable paint systems with catalyzed topcoats
High-wear-resistant hardware for drawers and trash pull-outs
If the kitchen uses luxury materials like solid wood kitchen cabinets, the island becomes a key design moment. If using budget-conscious options like RTA cabinets or stock units, the island panels and fillers require careful alignment to achieve a built-in appearance.
Remember to read:
Conclusion
A kitchen island succeeds only when it supports your cabinet layout, workflow, and storage needs. It must respect clearances, align with cabinet dimensions, and integrate seamlessly with the kitchen’s working zones. Whether you choose a minimalist slab design, a functional prep island, or a multi-purpose family hub, the foundation is always the same: a precision relationship between island structure and surrounding cabinets.
For homeowners planning custom solutions, visiting the George Group China showroom allows you to compare cabinet depths, drawer hardware, island construction methods, and countertop edge treatments in person. George Group offers full kitchen displays and one-stop building material sourcing—from custom cabinets to complete island fabrication—helping you design a kitchen island that fits your layout, lifestyle, and long-term renovation goals.